Create an image puzzle game
1.Create a new project
2. Change the location
3.Click OK
4. Make Form1 Bigger
5. Change Form1 Name
6. Press F5, Run it.
7. Set Maximize Box Property as False
8. Press F5, Run it.
The Maximize Box on the top-right, you are not able to use it to maximize the form.
9. Set Start Position as CenterScreen
10. Press F5 and run it, you will see the form is at the center of the screen.
11. Set FormBorderStyle as FixedSingle
12. Run it and you are not able to resize the form now.
13. Add a groupbox
14. Change the Text to “Choose Image”
15. Drag a textbox into group box
16. Rename it as textboxImagePath.
17. Add a button into this group
18. Change the text of the button to …
19. Change the name of the button to buttonImageBrowse
20. Add another group box, resize it to 444,444, and adjust form’s size if necessary
21. Change its text to Puzzle
22. Change its name to groupboxPuzzle
23. Add another groupbox onto the form, adjust the form size, textbox’s size, button position and so on if necessary
24. Change the text of this groupbox to Play Mode
25. Add a button into “Play Mode” groupbox
26. Change the text of the button to “Level 1”
27. Change the name of the button to buttonLevel1
28.Add three more buttons and change their names to Level 2, Level 3, Leve4 separately
29. Change their names to buttonLevel2, buttonLevel3 and buttonLevel4
30. Add another groupbox onto the form
31. Change its Text to Status
32. Add a label into Status groupbox
33. Change the text of the label to Idle
34. Change the name of the label to labelStatus
35. Run it
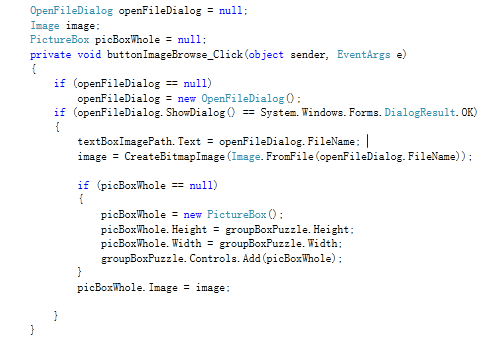
36. Single click buttonImageBrowse, go to Event tab under properties window. Single Click the Click Event
37. Double click the right empty area of the Click event. You created a Click Event function for the button
38. Go outside of the event click function, define a variable with OpenFileDialog class.
39. Go into Click Event function.
40. Go outside the event function and define am Image variable.
41. Go into the Event function.
42. Go outside of the event function, define a picturebox variable
43. Go into the event function.
44. Run it.
45. Click Image Browse Button.
46. Choose one image and open
47. Go out of the event function and define a function.
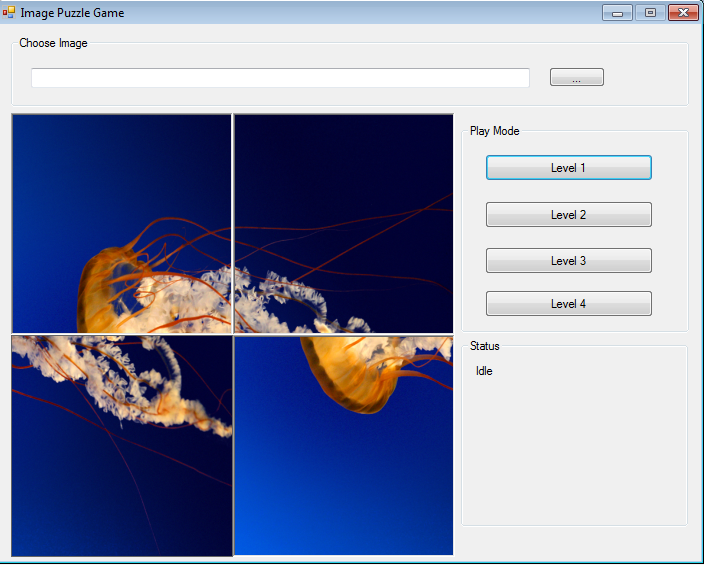
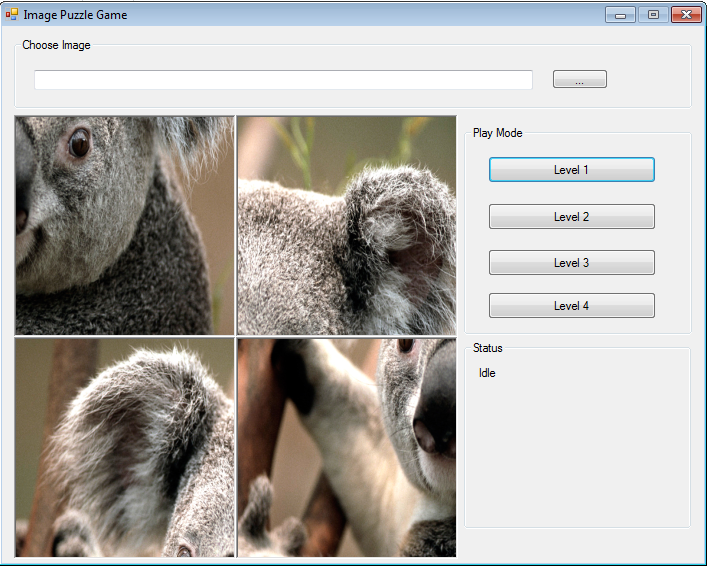
48. Go into the event function. Apply this function.
49, Run it, see the effect. The image was fully displayed.
50. Go to Puzzle Form’s Design View and single click with mouse left button and go to its property window single click on Click event with mouse left button.
51. Double click on the right side of the Click event, another event click function was generated.
52. Go out of the event function and define a picture box array variable.
53. Go into the event function
54. Go out of the event function. Define a constant integer
variable.
55. Go into the event function.
56. Go out of the event function. Define an Image array
variable.
57. Go into the event function.
58. Release the whole
image picturebox
59. Go out of the event function. Define an integer variable
for current level
60. Create another
prototype for CreateBitmapImage
61. Create a method to randomize the array
62. Go into event
function-
buttonLevel1_Click
63. Run it.
64. Click Level 1 button
65. Now, buttonLevel1_Click
is very big, we need to refactor it, select the code in event function.
66. Click mouse right button
67. In the menu list, you choose Refactor->Extract Method
68. Rename it to PlayLevel
69. Click Ok
70. Go into PlayLevel function, change BorderStyle for
puzzle Picture Boxes
71. Run it and see the effect.
72. Add class
73. Get this dialog
74. Rename the class
75. Click Add.
76. Import the NameSpace
77. Add parent class

78. Add variables

79. Add properties

80. Property Index, leave the default name
81. Click OK
82. Click Apply
83. Add another property
84. Leave the default name
85. Add a public function
86. Goto Form1.cs, go into PlayLevel function, use
MyPictureBox to replace PictureBox
87.Run it, nothing has changed.
88. Set Index
89. Set Image Index
90. Define a Click Event function
91. Apply it to Picture Boxes
92. Add click effect
93. Run it and test clicking
94. Go out of OnPuzzleClick event function, and define two
MyPictureBox.
95.Go to OnPuzzleClick event function.
96. Run it and test, click on the puzzles.
97. Go to add a new function
98. Apply it into OnPuzzleClick
99. Run it and test
100.Make it in order
101. Make an adjustment in code. Make the swapping action
simpler.
102. Run it and test
103. Add checking logic
104. Apply it.
105. “Well Done!!!”
106. Initialize the status.

107. Run it and test.

108. Initialize the textbox
109. Run it and test
110. Click Level 1
111.Well Done.


13 comments:
hey can you help me with this program . I hav some problemes with image display . and lvl
hi , man i hav a problem with PictureBox when i make step 77. Add parent class , can you help me plss
@denis
you need to add:
using System.Windows.Forms;
in MyPictureBox class file preamble
The solution shows when you're mouse over ":PictureBox"
@Ding Jet
thanks for post. Very useful for the beginners like me.
Everything work.
Hello, I have the same problem as denis. Please help.
Hey denis I just solved the step 77 problem..just copy all the 'using[namespaces]' (sorry dont know what theyre called) from PuzzleGame.cs and paste them to MyPictureBox.cs. Works for me. Yaaay! :D Great tutorial..so easy to follow. I'm definitely sharing this with my friends
If I want to choose a picture from a restricted folder what changes I should do to step 43?
Hi, I also have the same problem, and I'm intrested if you solve that problem.
hope you have an answer :)
i have a problem with step 60, where i need to create this prototype?
you can do it within the same class scope.
it gives me an error anywhere i put it
how to continue to create puzzle from 8 squares? and what for are buttons leve2, level3 and level 4?
Ok, it's now 2018 and I did your tutorial.
I liked it because no other tutorial really explains how to make more than 3x3 grids, so I don't like that.
However, I have to say it would be good if the images had some type of arrows pointing to the differences, sometimes I kept reading the same entire image to spot the newly added line.
Also, it would be amazing if you explained some type of commands, since there are some little parts of your logic that I don't understand and I can't say I learned how to do a image puzzle game from scratch, so if I try to replicate this tutorial without looking at it, I can't do it. And the only reason for that is that you didn't explain some things, and that's sad because this is the most complete tutorial on this subject. So maybe someday you should make a video tutorial explaining every part so we can understand the logic a little better, would be amazing!
And thanks for letting us have more options to add by ourselves.
Sorry for the long wait, please check my videos as the following for more information:
https://www.youtube.com/playlist?list=PLqlXtY19P1zV9IpXjReFKeo-ak9uoCO8O
Please comment under the video and I will reply it as soon as possible.
Post a Comment